ENEnglish
 LTLietuviškai
 DEDeutsch
 FRFrançais
 RUРусский
 ESEspañol
 PLPolski
 ITItaliano
 UKУкраїнська
 CSČeština
 PTPortuguês
 JA日本語
JA日本語 LVLatviešu valoda
 ETEesti
 HUMagyar
 IDBahasa Indonesia
 TRTürkçe
 HIहिन्दी
 ELΕλληνικά
 ARالعربية
 THไทย
THไทย VITiếng Việt
 RORomână
 MSBahasa Melayu
 BNবাংলা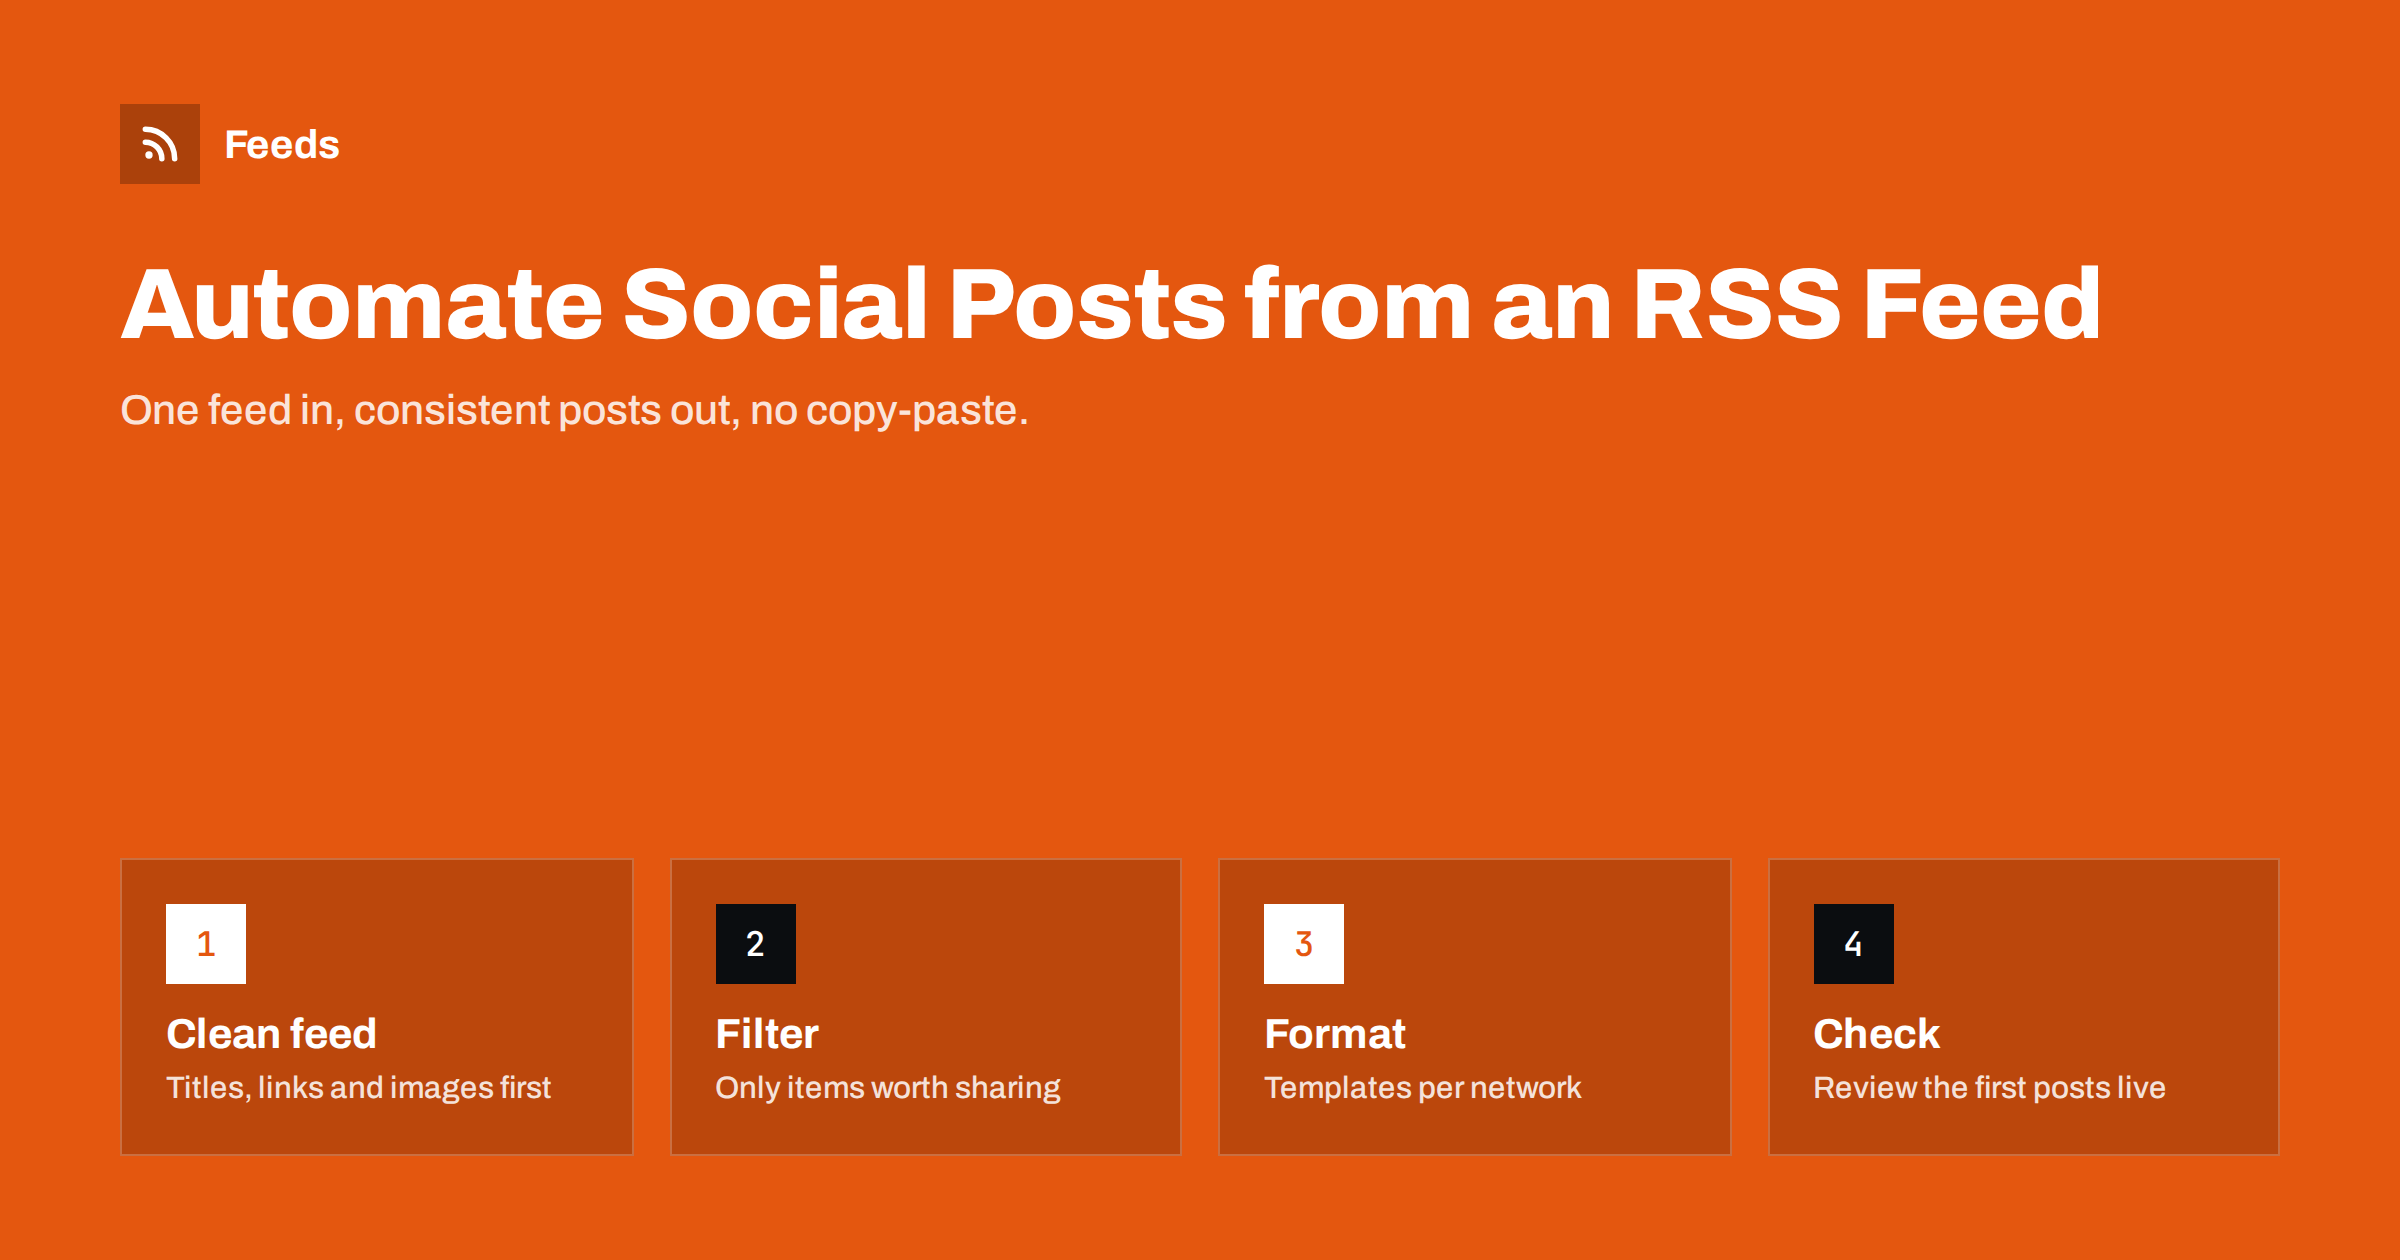
Short answer: To automate social media posts from an RSS feed, you connect a feed of your new content to a tool that watches it and publishes each new item to your chosen networks using a post template. The feed must have stable links, clear titles and images; a keyword filter keeps irrelevant items out; and duplicate protection stops the same item being posted twice. Check the first few automated posts on the live networks before you leave the workflow running on its own.
Why RSS is the natural trigger for social posting
Every time you publish a blog post, add a product or release a news item, someone usually has to copy the title, paste the link, find an image and repeat that on several networks. It is dull work, it is easy to forget, and it is exactly the kind of task software does well.
An RSS feed is a machine-readable list of the newest items on a site. Each item typically carries a title, a link, a publication date, a summary and often an image. Because the format is standard, almost every social posting tool and automation platform can read it. The tool checks the feed on a schedule, notices items it has not seen before and turns each one into a post.
This approach has three practical advantages:
- No changes to your website. Most content management systems already publish a feed, so you are building on something that exists.
- One source for many destinations. The same feed can drive Facebook, LinkedIn, X, Telegram and a newsletter at once.
- It keeps working when you are busy. The posting happens whether or not anyone remembers to do it.
What you need before you start
Before connecting anything, gather these pieces. Skipping this step is the most common reason automated posting looks sloppy.
- A working feed URL. For WordPress this is usually
/feed/on your domain. Many other platforms publish one too. Open it in a browser and confirm it lists your latest items. - Accounts and pages on each network. You need admin access to the business page, profile or channel you want to post to, not just a personal login.
- A posting tool. This can be a dedicated RSS-to-social service or a general automation platform. Dedicated services tend to handle images and network quirks better; general platforms are more flexible.
- A decision on what should be posted. All new articles? Only one category? Only products in stock? Write this down; it becomes your filter.
Step by step: setting up RSS-to-social automation
The exact screens differ between tools, but the logic is the same everywhere.
- Add the feed. Paste the feed URL into your posting tool. A good tool will show a preview of the items it found. Check that titles, links and images appear correctly.
- Connect the networks. Authorise the tool to post on your pages or profiles. Pick the specific page, not just the account.
- Set a starting point. Decide whether existing items should be posted or only items published from now on. For most sites, only new items is the right choice; otherwise you flood your followers with a backlog on day one.
- Write a post template. Typically this combines the title, a short summary and the link. Keep it short for X, a bit richer for LinkedIn and Facebook.
- Add filters. Include or exclude items by keyword or category so that only relevant content goes out.
- Set frequency limits. If you publish in bursts, spread posts out so that ten items do not appear within a minute.
- Test with one item. Publish something, wait for the next check and look at the result on the network itself, not only in the tool’s log.
How to make automated posts look hand-made
Followers do not mind automation. They mind posts that look broken. These details make the difference.
Images and link previews
Most networks build a preview card from the page’s Open Graph tags, especially og:title, og:description and og:image. If your pages lack these, the preview may be empty or show a random image. Some tools attach the feed’s image directly instead. Either way, make sure every article has a clear featured image of a reasonable size.
Titles that work without context
A title like “Update” or “Part 2” is fine on your blog, where readers see the surrounding page. On a social feed it means nothing. If your titles are often vague, add the summary to the template or adjust how you write titles.
Different templates per network
LinkedIn readers accept a few sentences of context. X has a strict character limit. Telegram channels suit a short headline with a link. Hashtags work on some networks and look out of place on others. Use a separate template for each destination rather than one message everywhere.
Tracking parameters
Add UTM parameters to links so that you can see in analytics how much traffic automated posts bring. Use a consistent pattern, for example utm_source=linkedin&utm_medium=social&utm_campaign=rss.
Choosing a tool: dedicated service or general automation platform
Both approaches work. The right choice depends on how many networks you post to and how much control you need.
| Question | Dedicated RSS-to-social service | General automation platform |
|---|---|---|
| Setup effort | Low: add feed, connect pages, done | Medium: build a workflow per network |
| Network coverage | Usually many networks in one place | Depends on available connectors |
| Image handling | Typically built in | Often needs extra steps |
| Custom logic | Filters and templates | Almost anything, including other apps |
| Cost model | Usually per account or plan | Often per task or operation |
If all you want is “new article appears, post it everywhere”, a dedicated service is simpler. If the post also needs to go into a spreadsheet, trigger an email and notify a team channel, a general platform is more flexible.
Common mistakes and how to avoid them
- Posting the whole backlog. Connecting a feed with fifty old items and letting the tool post all of them is the classic first-day accident. Always choose “only new items” when you start.
- Duplicate posts. If your CMS changes an item’s link or ID when you edit it, some tools treat it as new and post it again. Keep URLs stable after publishing.
- Posting everything. Internal announcements, job ads and product updates may all share one feed. Use category feeds or keyword filters to send only the right items to each network.
- Nobody checking. Connections to social networks expire, pages change owners, feeds break after a redesign. Put a monthly reminder in your calendar to look at the actual pages.
- Too many posts at once. Networks may limit accounts that publish in rapid bursts, and followers unfollow noisy accounts. Spread posts out.
What if the website has no RSS feed?
Sometimes the content you want to share lives on a site without a feed: a partner’s news page, a supplier’s announcements or an old CMS that never had RSS. You cannot connect a posting tool to a page that has no feed, so you first need to create one.
Feeds does exactly this. You paste the address of a page that lists articles, it finds the list of items and turns it into a clean RSS feed with titles, images, summaries and dates. If the site already has a feed, it uses that instead. You can also merge several sources into one feed, keep only items that contain (or do not contain) your keywords, and duplicates are removed automatically. You see a preview before anything is created, and the feed then refreshes on its own, so the link can go straight into your social posting tool. There is a free plan to try it on one website, and the pricing page lists what the paid plans add.
A simple checklist before you switch it on
- The feed opens in a browser and lists your newest items.
- Every item has a title, a working link and an image.
- The tool is set to post only new items, not the backlog.
- Each network has its own template.
- Filters exclude items that should not be public on social media.
- Links carry UTM parameters.
- You have looked at the first automated post on each network yourself.
Related reading
- How to Auto-Share New YouTube Videos Using the Channel Feed
- How to Auto-Post an RSS Feed to a Telegram Channel
- Writing Post Templates for Automated Social Media Feeds
The bottom line
Automating social posts from an RSS feed is one of the simplest and most useful automations a small business or publisher can set up. Start with a clean feed, post only new items, use separate templates for each network and filter out anything that does not belong. Then look at the real posts, not just the log, until you trust the workflow.
FAQ
Can I automate social media posts without an RSS feed?
You can post manually or use a scheduler, but automatic posting of new content almost always relies on a feed or an API. If the site has no feed, you can create one from the page that lists the content and use that feed as the trigger.
How often do automated tools check an RSS feed?
It depends on the tool and plan. Checks every 15 minutes to a few hours are typical. If timing matters, look for a tool with a shorter interval rather than relying on the default.
Will automated posts get less reach than manual ones?
Networks do not publicly confirm penalising posts made through official APIs. Reach depends mostly on how useful and well formatted the post is, so good titles, images and short context matter more than how the post was created.
How do I stop the same article being posted twice?
Keep article URLs stable after publishing and use a tool that tracks which items it has already posted. If you edit old posts often, check whether your CMS changes the item’s GUID or link when you do.
Should I post every new item to every network?
Usually not. Different networks suit different content, so filter by category or keyword and send each audience only the items that fit it. Fewer, more relevant posts tend to work better than a constant stream.