ENEnglish
 LTLietuviškai
 DEDeutsch
 FRFrançais
 RUРусский
 ESEspañol
 PLPolski
 ITItaliano
 UKУкраїнська
 CSČeština
 PTPortuguês
 JA日本語
JA日本語 LVLatviešu valoda
 ETEesti
 HUMagyar
 IDBahasa Indonesia
 TRTürkçe
 HIहिन्दी
 ELΕλληνικά
 ARالعربية
 THไทย
THไทย VITiếng Việt
 RORomână
 MSBahasa Melayu
 BNবাংলা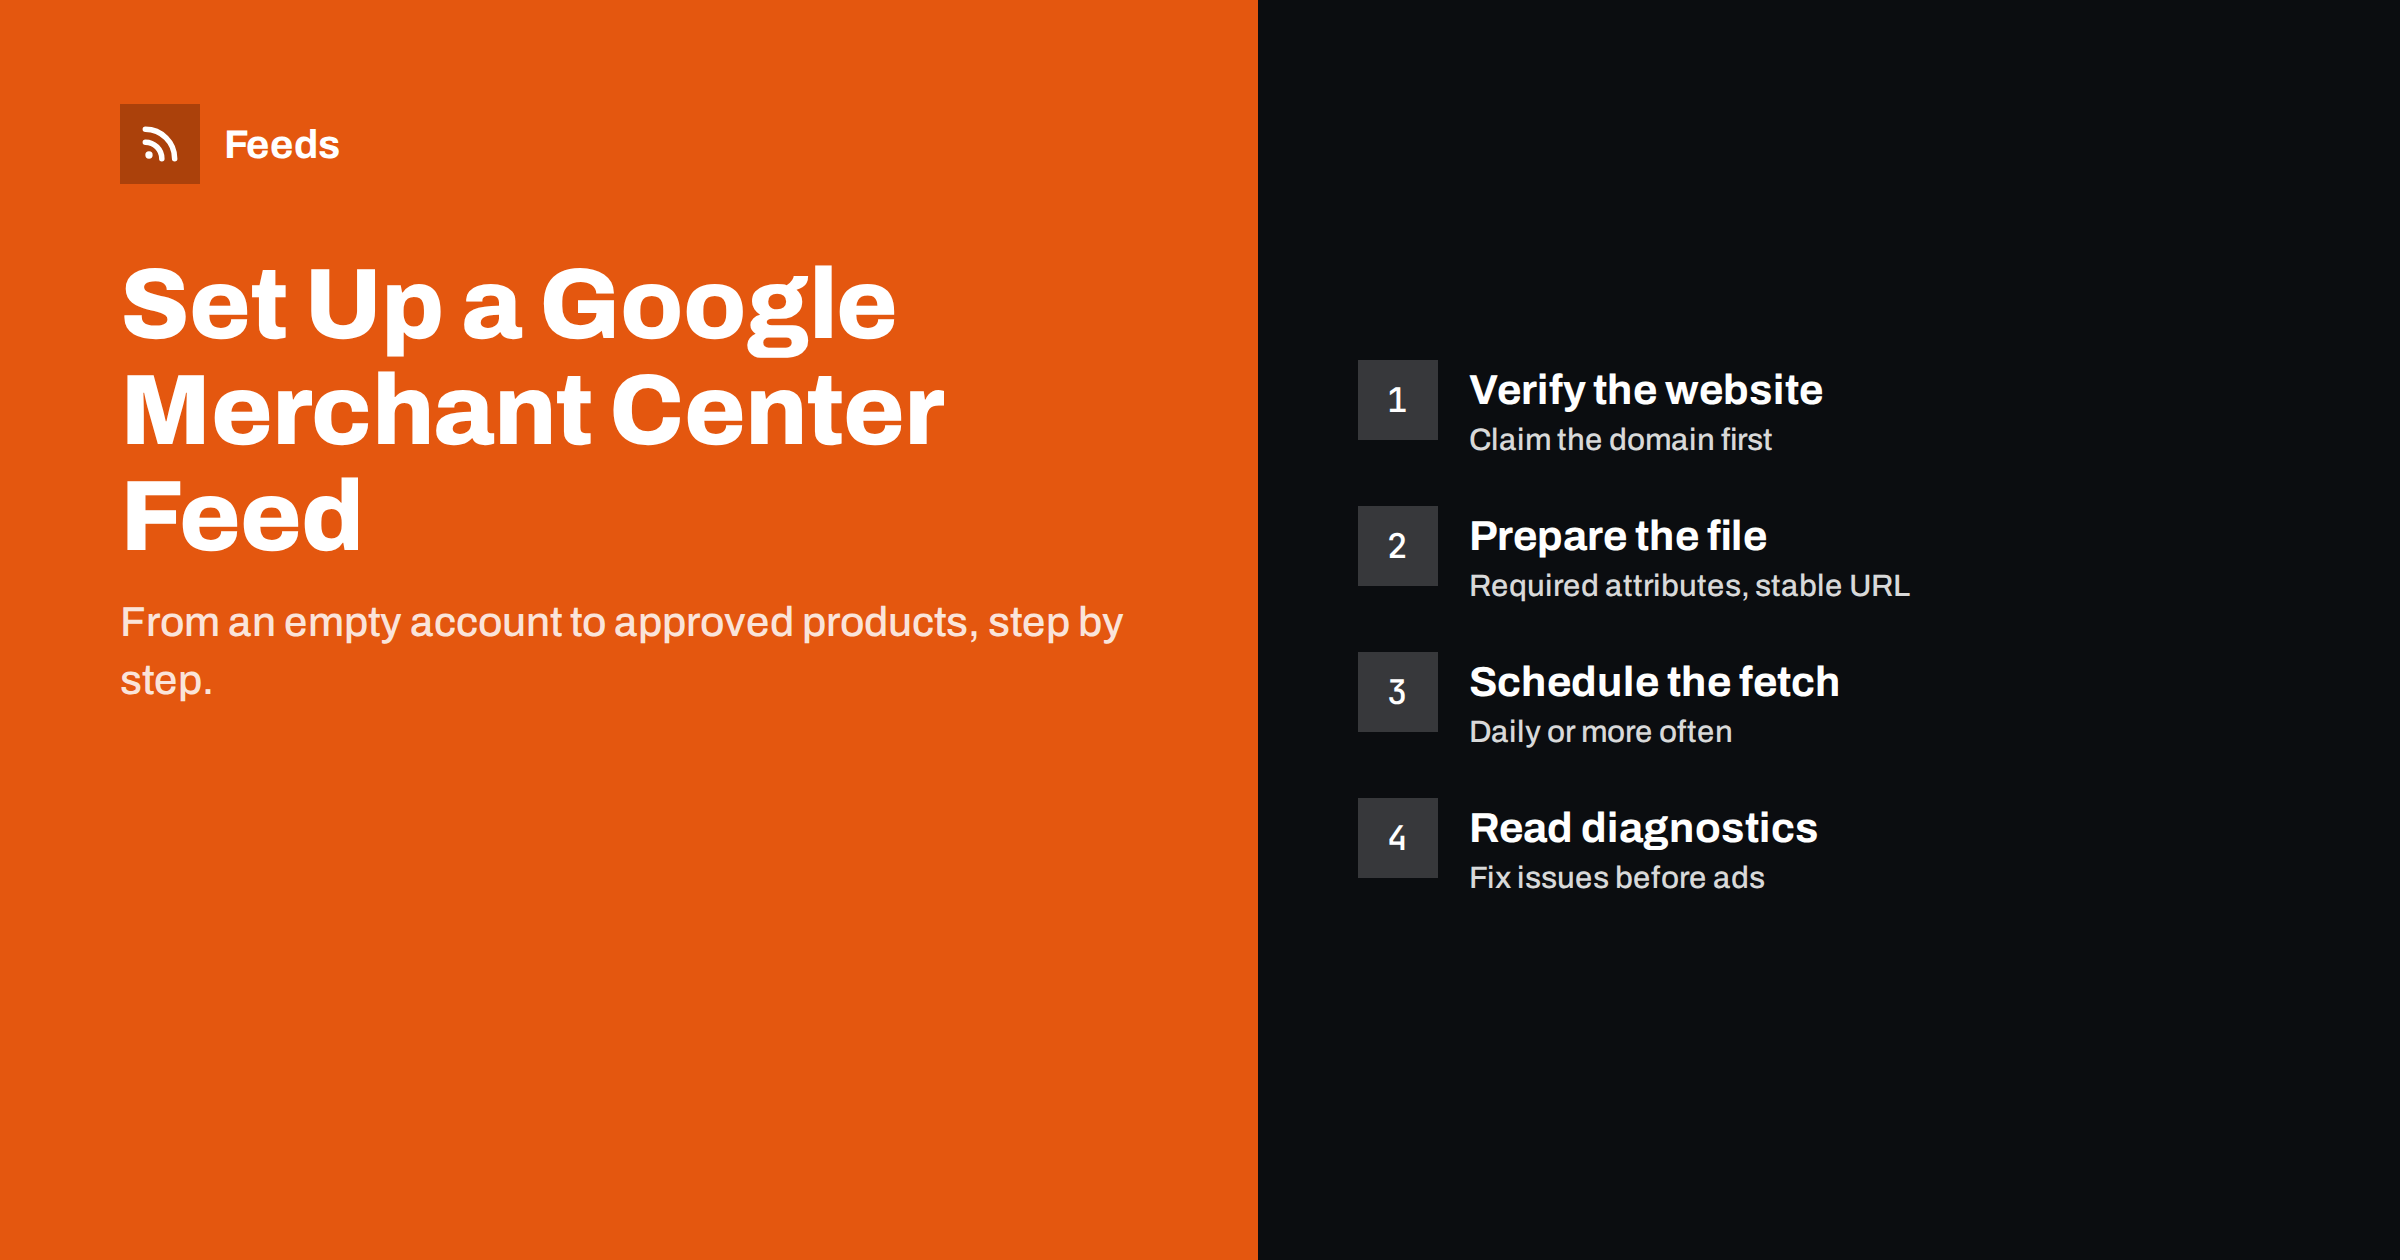
Short answer: To set up a Google Merchant Center product feed, create and verify your Merchant Center account, confirm your business details, shipping and returns, then add a product source that points to a hosted feed file and set a daily scheduled fetch. After the first fetch, open the diagnostics and fix any item-level issues. Approved products become eligible for free listings and, once linked to Google Ads, for Shopping ads.
Before you start: what you need
Setting up Merchant Center goes much faster when everything is ready before you open the account. Gather these first:
- Access to your website’s domain so you can verify and claim it. Google needs proof that you control the site where products are sold.
- Business information: the business name as shown on the site, address, customer service contact and a way for Google to confirm the phone number if asked.
- Shipping and return policies that are published on the website and consistent with what you plan to enter in Merchant Center.
- A product feed in a supported format, ideally hosted at a stable URL so Google can fetch it automatically.
- Clear checkout information on the site: prices, taxes where relevant, payment methods and contact details. Reviewers check the landing pages, not only the feed.
If the website is new, make sure it is live, reachable without a password and has working product pages before you submit anything. Products pointing to pages that show errors or “coming soon” messages will be rejected.
Step 1: Create the account and verify the website
Sign in with the Google account you want to own the Merchant Center, create a new account and enter your business details. Then verify and claim the website. The common methods are an HTML tag in the site header, an uploaded HTML file, or a connection through Google Analytics, Google Tag Manager or Search Console if you already use them for the same domain.
Verification proves you control the domain. Claiming ties that domain to this Merchant Center account, so product links must use the same domain. If your products live on a subdomain or a different domain from the one you claimed, fix that now rather than after the first rejection.
Step 2: Configure shipping, returns and tax
Shoppers see delivery costs and times in Shopping results, so Google wants shipping information for each country you target. You can set it up in the account as shipping services, with rates by price, weight or flat fee, and delivery times. Alternatively, you can send shipping per item in the feed, but account-level settings are easier to maintain for most small stores.
- Match the costs and times shown at checkout on your site. Mismatches are a common reason for warnings.
- Add a return policy that reflects what the website says, including the return window and who pays return shipping.
- In the United States, sales tax is configured in the account settings. In most other countries, prices in the feed must include VAT or equivalent taxes.
Step 3: Prepare the product feed
Your feed needs the attributes Google requires for your product category. For most products, the core set is id, title, description, link, image_link, availability, price and condition, plus product identifiers such as brand and gtin where they exist. Apparel and some other categories need extra attributes like color, size, gender and age_group.
| Feed option | Best for | Main drawback |
|---|---|---|
| Scheduled fetch of a hosted XML or CSV file | Most stores: set once, updates daily or more often | Changes between fetches are not visible until the next fetch |
| Manual upload of a file | Very small catalogs, one-off tests | Easy to forget; data goes stale quickly |
| Google Sheets | Small catalogs edited by hand | Manual editing does not scale and invites typos |
| API or platform integration | Large or fast-changing catalogs | Needs development work or a platform app |
For a typical store, a hosted file generated from live store data is the sweet spot. It is simple, it keeps working when staff changes, and it does not depend on anyone remembering to upload a file.
Before you register the feed, open it in a browser or spreadsheet and spot-check ten random products. Confirm the price matches the product page, the link opens the right variant, the image is the product and not a logo, and the availability reflects real stock. Catching one systematic error here saves days of back-and-forth later.
Step 4: Add the feed as a product source
In Merchant Center, go to the products section and add a product source. Choose the option to add products from a file, enter the feed URL and choose a fetch schedule. The interface has changed several times over the years, but the choices are always the same:
- Source name: something descriptive, such as “Main store XML”.
- Countries and language: where these products are sold and the language of titles and descriptions.
- File URL: the exact address of the hosted feed. If it is protected, enter the credentials.
- Fetch frequency and time: daily is the minimum; pick a time shortly after your feed refreshes.
Then trigger the first fetch manually rather than waiting for the schedule. Google processes the file and reports how many items were read, how many had errors and which attributes were missing.
Step 5: Review diagnostics and fix issues
After the first fetch, products go through review, which can take from a few hours to a few days for new accounts. The diagnostics page groups issues by type and severity. Work through them in this order:
- Account-level issues, such as website verification, missing policies or misrepresentation warnings. These can block every product at once.
- Errors that disapprove many items, such as a missing required attribute or a price mismatch pattern. One fix in the feed usually resolves hundreds of items.
- Individual disapprovals, such as a single image that was rejected.
- Warnings and opportunities, such as missing GTINs or short titles. They do not block products but limit performance.
Always fix problems at the source, in the store or in the feed rules, rather than editing products directly in Merchant Center. Manual overrides tend to be forgotten and can be overwritten or conflict with the next fetch.
Step 6: Turn on free listings and link Google Ads
Approved products can appear in free listings across Google surfaces once that program is enabled for the account. To run Shopping ads or Performance Max campaigns, link Merchant Center to a Google Ads account and accept the link request. Your feed then serves both: free listings use the same data as paid campaigns.
Keep an eye on the feed after launching ads. Every fetch can bring new issues, for example when a supplier changes images or a pricing plugin changes how sale prices are shown.
Common setup mistakes
Most problems in a new Merchant Center account come from a short list of avoidable mistakes. Checking for them before the first fetch saves a lot of waiting:
- Submitting before the website is ready. Missing contact details, a broken checkout or placeholder policy pages can trigger account-level warnings that affect every product, and a new review takes time.
- Feed domain does not match the claimed domain. If product links point to a staging host, a different subdomain or a tracking redirect on another domain, items are rejected.
- Prices without tax in countries that require tax-inclusive prices. In the EU and many other markets, shoppers must see the final price, so the feed price must include VAT.
- Sale prices in the feed that are not visible on the page, or the reverse: the page shows a discount but the feed still sends the old price.
- Using one language in the feed and another on the landing page. The feed language must match the page shoppers land on.
- Uploading a file once and forgetting it. A manually uploaded file expires if it is not refreshed, and products quietly disappear.
If an account-level issue appears, read the linked policy carefully, fix the website, and only then request a review. Repeated review requests without changes can lengthen the wait.
How Feeds helps
Feeds builds the product file you register in Merchant Center. It reads WooCommerce and Shopify stores automatically, or any other platform through a CSV link, and publishes a Google product XML feed with id, title, link, image, price, availability and brand at a stable URL. Rules let you skip out-of-stock products, rewrite titles and adjust prices, and you check a preview of the products before the feed is created. The feed refreshes on its own, so the scheduled fetch in Merchant Center always picks up current data. See the plans for product limits.
Related reading
- What Is a Product Feed? A Plain-English Guide for Stores
- What Is an RSS Feed? A Plain-English Guide for Site Owners
The bottom line
A working Merchant Center setup is a sequence: verify the site, configure shipping and returns, prepare a feed with the required attributes, register it as a scheduled fetch, and fix diagnostics from the account level down. Generate the feed from live store data and fix issues at the source. After that, the account mostly runs itself, with a weekly look at diagnostics.
BUJ
How long does Merchant Center review take?
New accounts and new products are usually reviewed within a few days, sometimes faster. Account-level reviews, such as checks for misrepresentation, can take longer and may need you to request a review after fixing issues.
Can I use Merchant Center without Google Ads?
Yes. Approved products can appear in free listings without any ad spend. Linking Google Ads is only needed for paid Shopping or Performance Max campaigns.
Which feed format should I choose?
For most stores, a hosted XML or CSV file with a scheduled fetch is the simplest reliable option. XML handles long descriptions and special characters more robustly than CSV.
How often does Google fetch a scheduled feed?
You set the frequency when you add the source, typically daily. Schedule it shortly after your feed refreshes so Google always picks up the newest data.
Should I fix errors in Merchant Center or in my store?
In the store or feed rules. Direct edits in Merchant Center are easy to forget and may conflict with the next fetch, so the same problem keeps coming back.